Installing Mandrake 9.1 in QEMU
Installing Mandrake 9.1 (2003) in a QEMU virtual machine
Inspired by an article about test driving old Linux distros, I’ve decided to try installing some of the distributions I have used since my first contact with Linux 17 years ago.
Although I’ve been using Debian since I installed Debian 3.1 back in 2004, the distro that previously allowed me to use Linux exclusively was Mandrake 9.1.
Downloading the ISOs
Unfortunately, Mandrake (later renamed to Mandriva), has been defunct since 2011 but, thanks to the wonderful Internet Archive, we can still get the ISO files for Mandrake 9.1:
wget https://archive.org/download/Mandrake91/Mandrake91-cd{1-inst,2-ext,3-i18n}.i586.iso
Installation
Once we have the ISO files, we can start the installation using QEMU. Therefore, we have to install the necessary package:
sudo apt install qemu
First of all, let’s create a disk image:
qemu-img create -f qcow2 mandrake91.qcow2 10G
Now, to run the installation, we need to point QEMU to the first ISO and to the disk image we just created:
qemu-system-i386 -m 128 \
  -cdrom Mandrake91-cd1-inst.i586.iso \
  -hda mandrake91.qcow2 -usb \
  -vga cirrus -soundhw ac97 \
  -nic user,model=rtl8139 \
  -boot order=dc
Surprisingly, the installation felt as easy now as it did back then, and the default settings can be left unchanged.
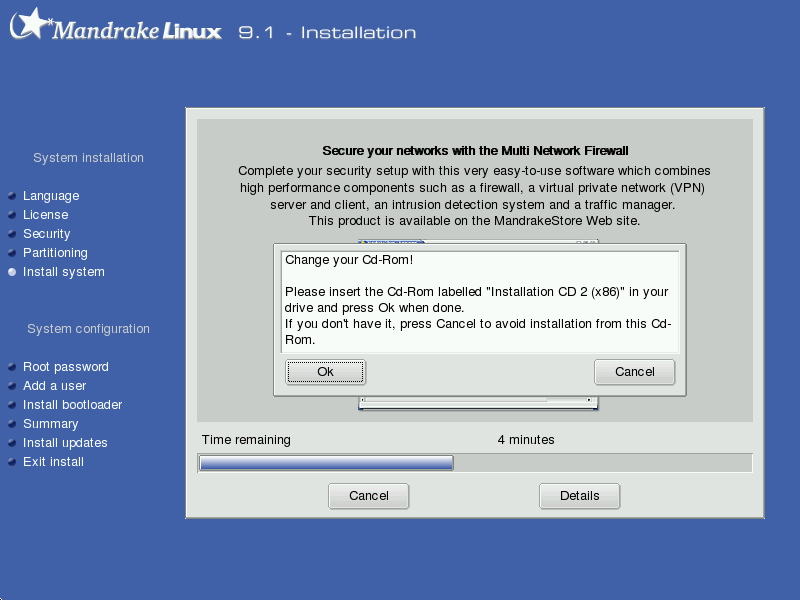
At some point, and depending on the packages we have selected for installation, we may be asked to change the installation CD:
For this, we need to press Ctrl+Alt+2 to access QEMU’s monitor interface, and enter this at the prompt for the second CD:
change ide1-cd0 Mandrake91-cd2-ext.i586.iso
Or this for the third:
change ide1-cd0 Mandrake91-cd3-i18n.i586.iso
After we press Ctrl+Alt+1 to go back to the installation, we can then click OK to continue the process.
Once all packages are installed, we’ll have to provide a password for root and create a user.
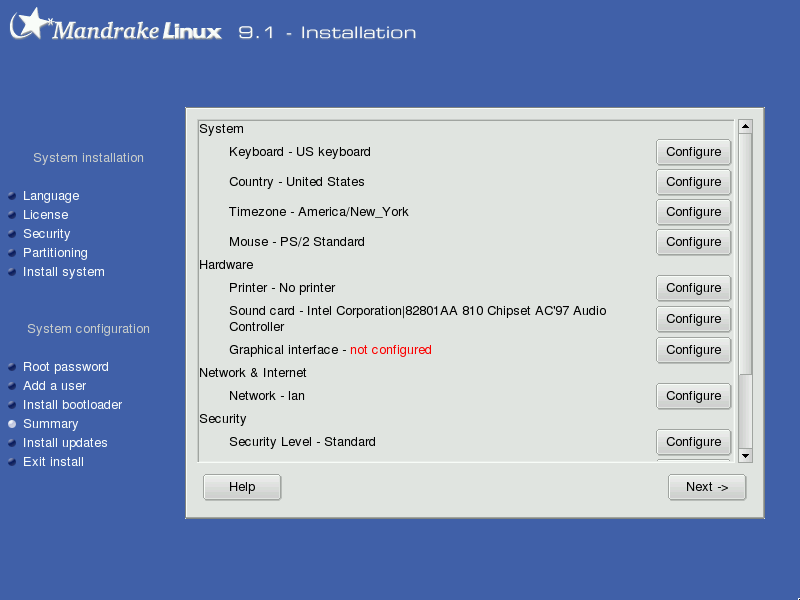
Then, a summary of the installation process will be shown. We will probably want to launch the configuration for the Graphical Interface by clicking on the Configure button:
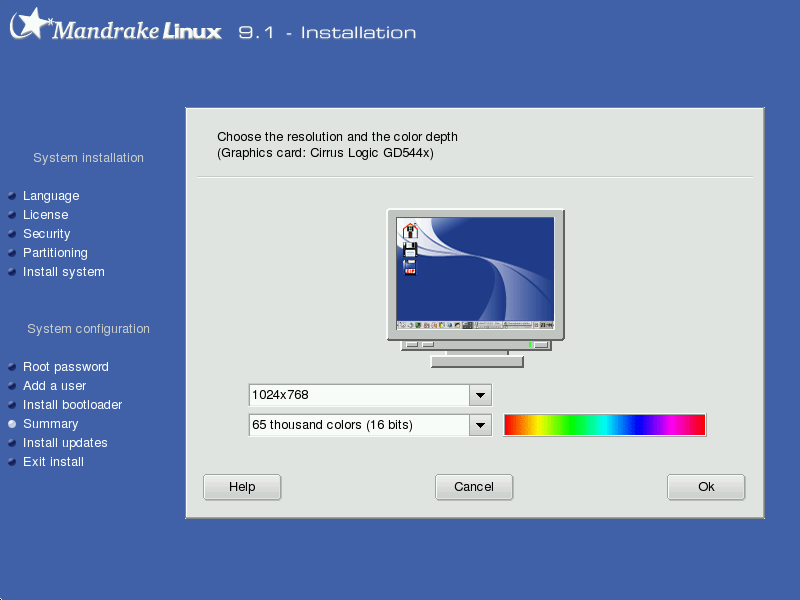
Thankfully, the auto-detected defaults are fine and we won’t need to change anything. Although we might want to choose a higher resolution and color depth:
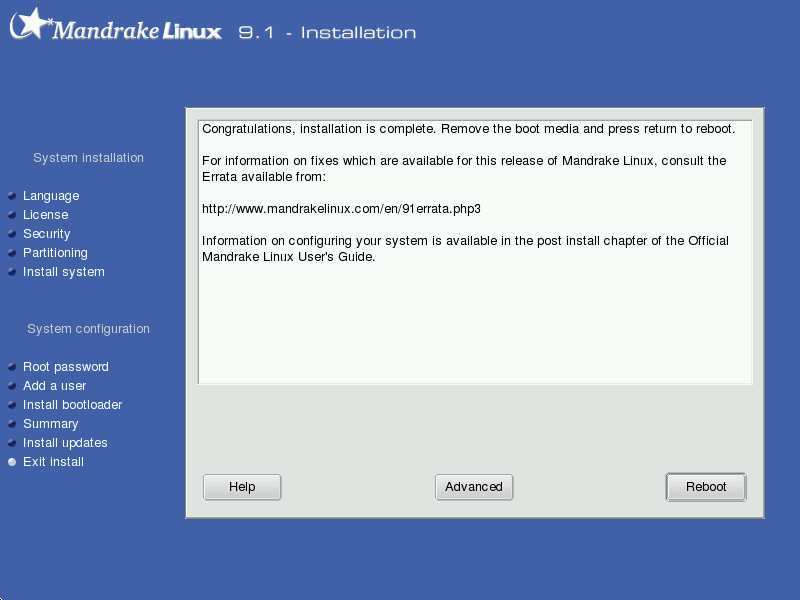
After several other uneventful steps, the installation will finish and we will be free to reboot the system:
Booting the system
We can boot into Mandrake by running QEMU again. This time, however, we exclude the ISO file:
qemu-system-i386 -m 128 \
  -hda mandrake91.qcow2 -usb \
  -vga cirrus -soundhw ac97 \
  -nic user,modle=rtl8139
After the boot loader and some other boot messages, we will see the login screen:
Once we’ve logged in with our user, Mandrake’s First Time Wizard will be launched so we can pick our preferred desktop environment (KDE, GNOME or IceWM). I’ve chosen KDE because it’s what I used back in the day:
If we start a console, we’ll get to check what version of the Linux kernel we
are running with the command uname -a:
Linux localhost 2.4.21-0.13mdk #1 Fri Mar 14 15:08:06 EST 2003 i686 unknown unknown GNU/Linux
Settings
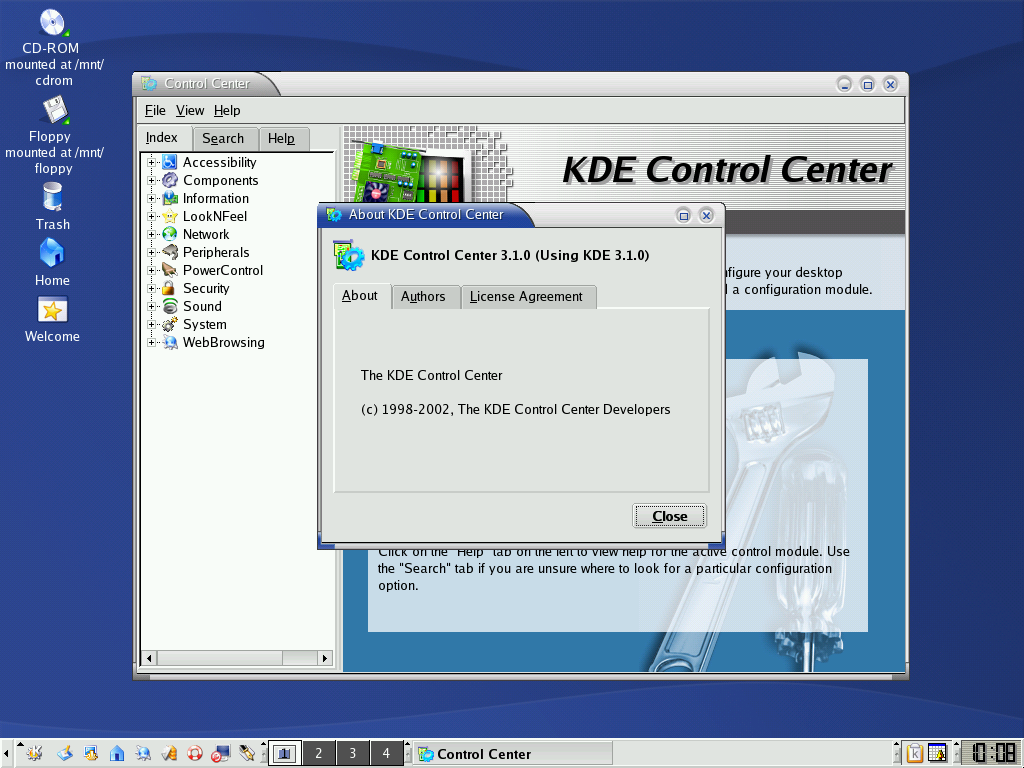
To change desktop settings like the background, theme or window decorations, we simply have to launch KDE Control Center:
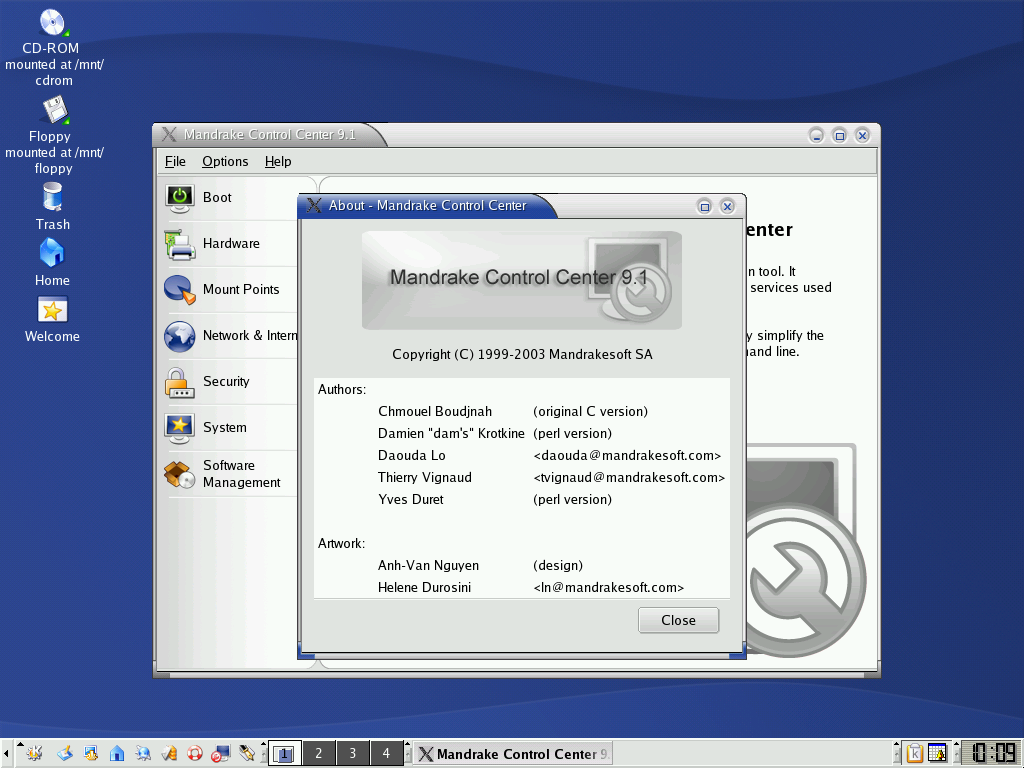
In order to change any system setting, however, we will need to start Mandrake Control Center. After entering our root password, we’ll be able to change things like the boot options, network settings, users and security settings:
Package manager
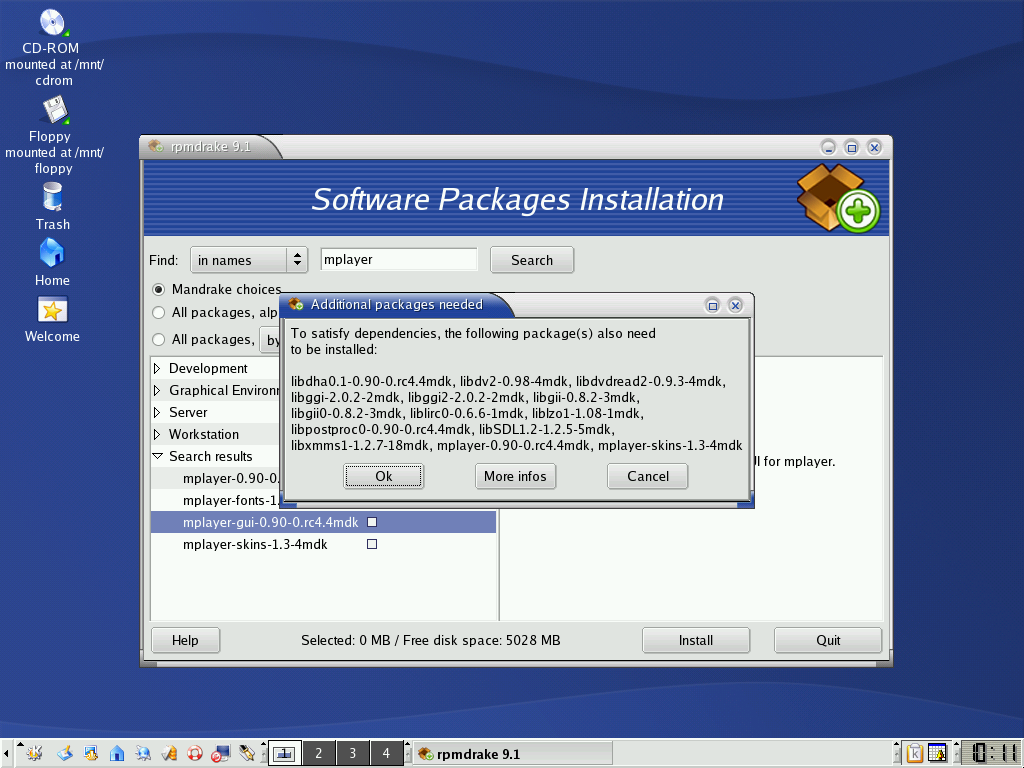
From Mandrake Control Center, we can also do all the package management we need using rpmdrake. This tool automatically handles dependencies so we won’t have to hunt for the required packages:
File manager
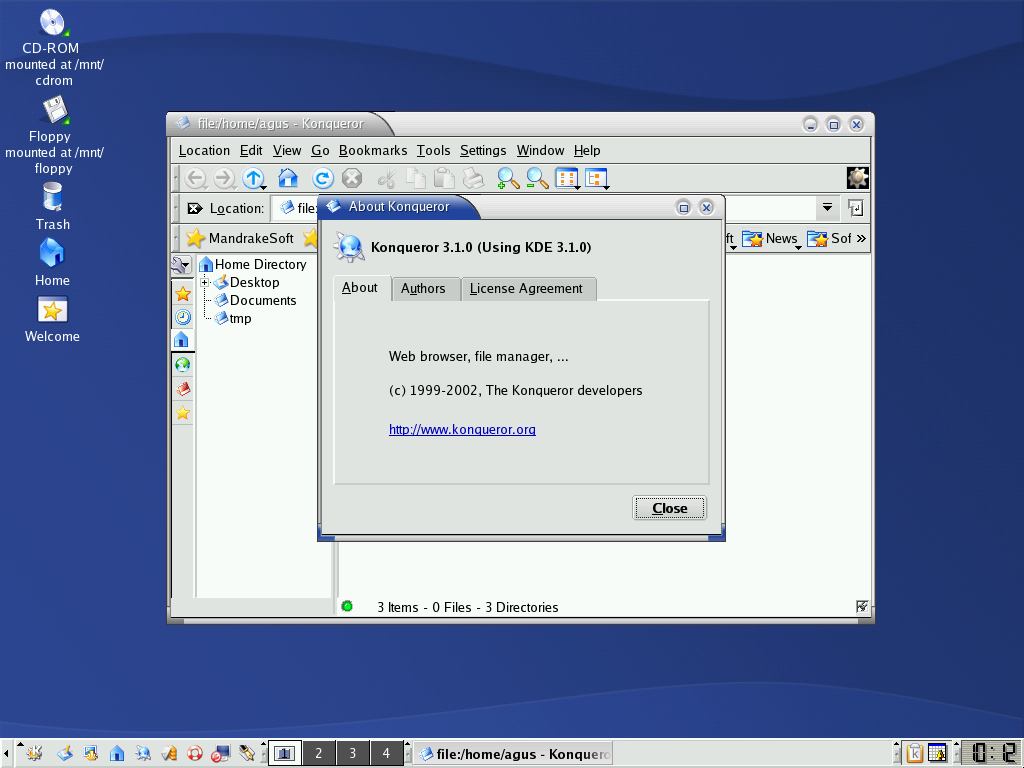
The file manager is Konqueror which is still kicking today, even if only as KDE’s default web browser:
Web browser
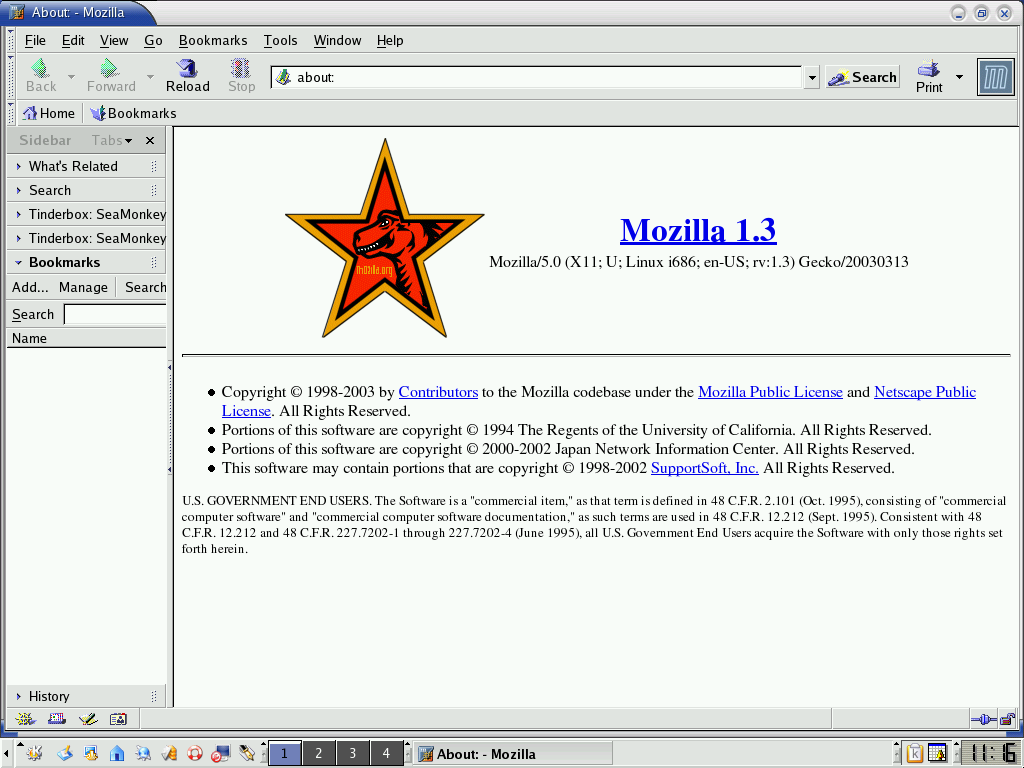
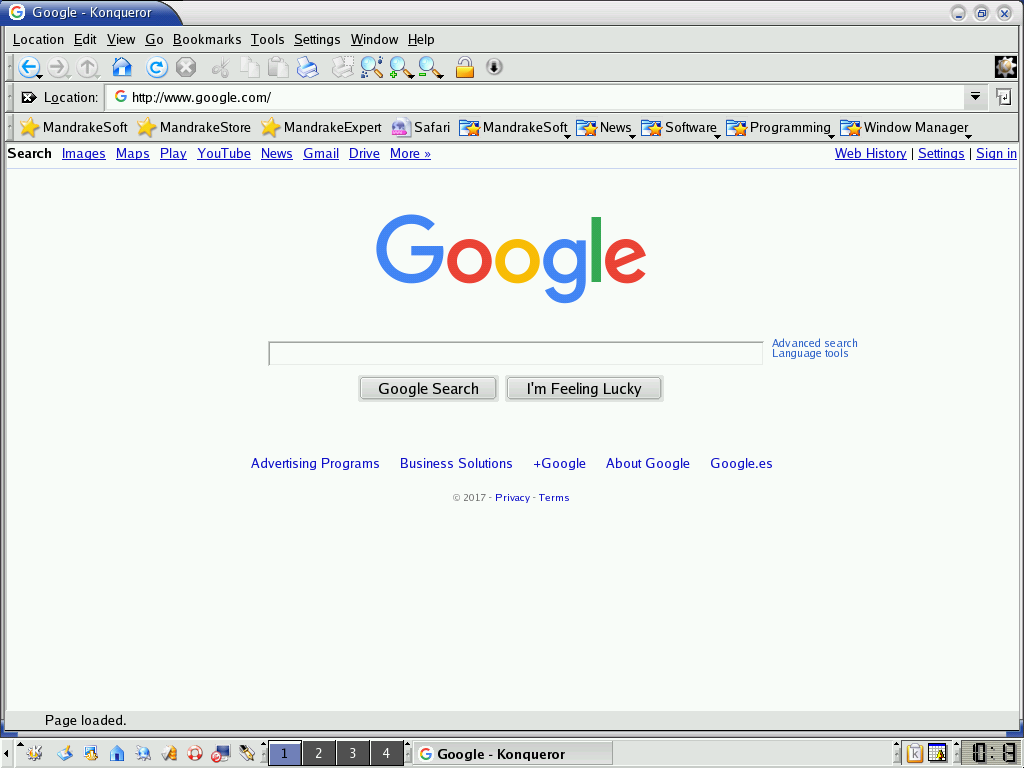
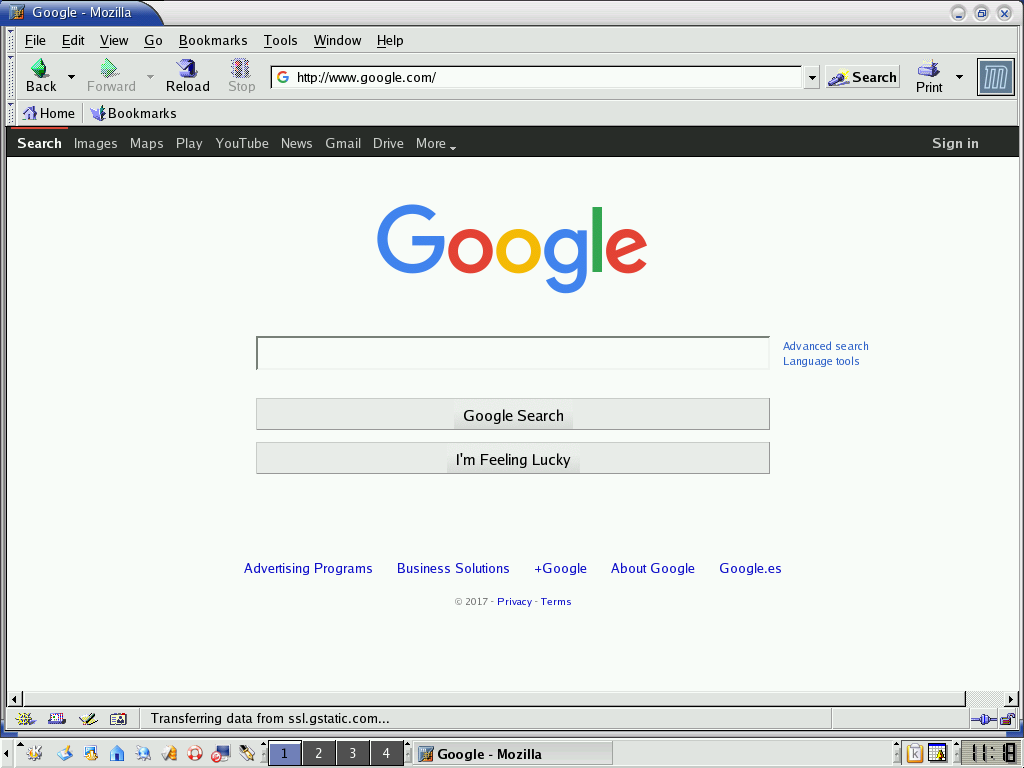
Unfortunately, as a web browser, this version of Konqueror isn’t able to handle many modern websites. And neither was Mozilla’s web browser:
Of the websites I tried, these two web browsers were only able to load Google:
They both failed to load other top ranking websites such as YouTube, Facebook, Wikipedia, Yahoo, Reddit, Twitter, Amazon or Instagram.
Office tools
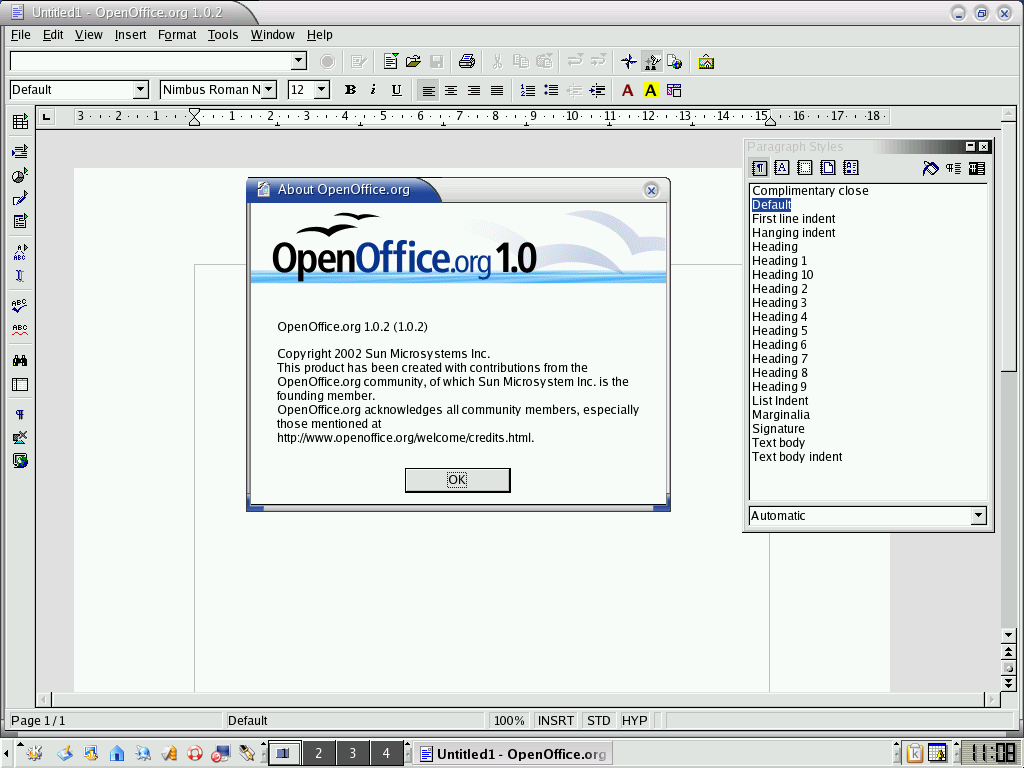
I was surprised to find out that OpenOffice’s suite was already around back in 2003, with its usual components such as Writer, Calc, Impress, etc.:
Multimedia
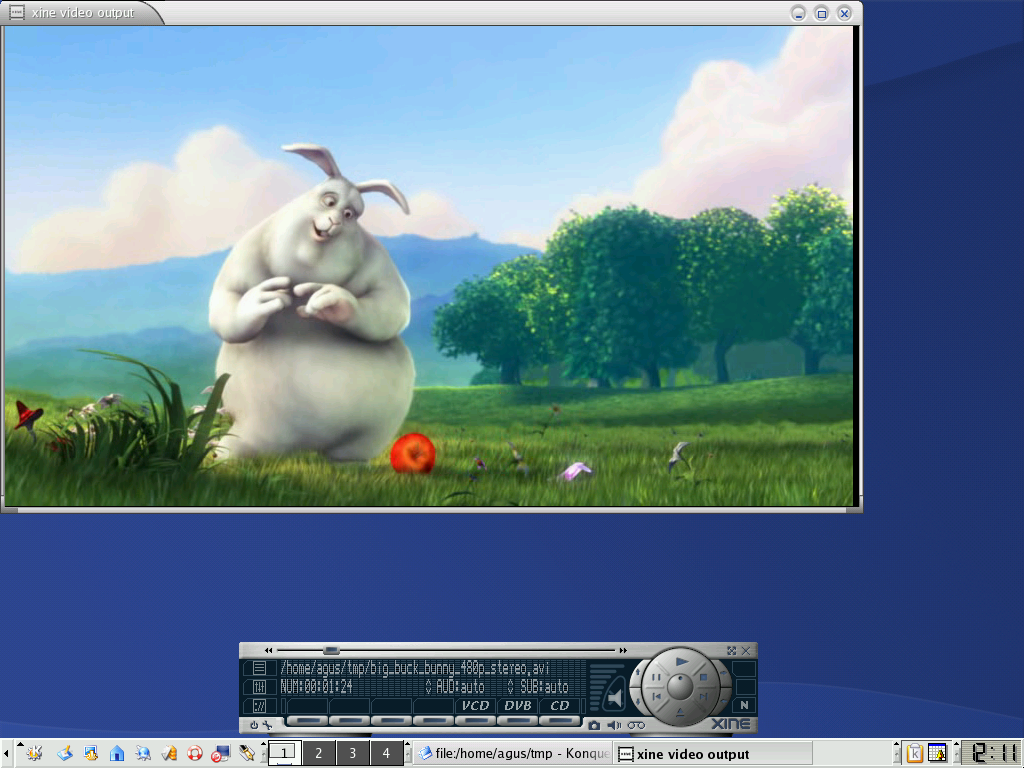
When it comes to multimedia playback, it was necessary to install xine, since neither MPlayer nor KDE’s default viewer were able to play Big Buck Bunny’s AVI file:
Still, the playback, both for audio and video, was choppy. Maybe the results would improve by trying other emulated video and audio devices.
Conclusion
I was pleasantly surprised by how user friendly this version of Mandrake Linux was, even compared to modern operating systems.
Common day-to-day user actions, and even most system administration, can be performed using some kind of GUI, without giving up the power of the Unix shell underneath.
Granted, most of the issues that would have been encountered back in the 2000’s, regarding Linux, would be related to hardware compatibility and lack of drivers. This time around, we luckily avoided all that by using a virtual machine.
Either way, the effort that went into creating such an experience for the user is notable. Especially by the fact that only outside factors, such as vendor support, could prevent us from enjoying this distro to its full potential.
